> ## Documentation Index
> Fetch the complete documentation index at: https://docs.shieldlabs.ai/llms.txt
> Use this file to discover all available pages before exploring further.
# Environments
> Keep development and production traffic apart with a separate ShieldLabs domain and key set for each environment.
In ShieldLabs you separate development from production the same way you separate any other configuration: with **a separate domain and key set for each environment**. Every environment loads the same snippet from `cdn.shieldlabs.ai`.
The API shape is identical in every environment. A webhook from a development domain and a webhook from a production domain carry the same fields, the same `request_id` join key, and the same Risk Score (0-100) with its `signals`. Nothing about the integration changes between environments except the domain and its credentials.
## One thing changes per environment
Register a separate domain for each environment (for example `dev.example.com` and `example.com`). Each domain gets its own Public Key, Private API Key, Secret Key and webhook endpoints. Every environment loads the snippet from `cdn.shieldlabs.ai`.
## Use a separate domain and key set per environment
Register each environment as its own [domain](/setup/domains) in the [analytics dashboard](https://app.shieldlabs.ai/). Every domain you add gets its own [Public Key, Private API Key and Secret Key](/setup/keys) and its own webhook endpoints. A development domain uses one of your plan's domain slots: Free and Starter allow 1 domain, Growth 3, Scale 5. On Free and Starter the development domain takes your only slot, so delete it before you add the production domain; deleting a domain frees its slot right away.
| Environment | Registered domain | Webhook endpoints |
| - | - | - |
| **Development** | `dev.example.com` | your tunnel or staging URLs |
| **Production** | `example.com` | your production handlers |
Keeping them separate buys you:
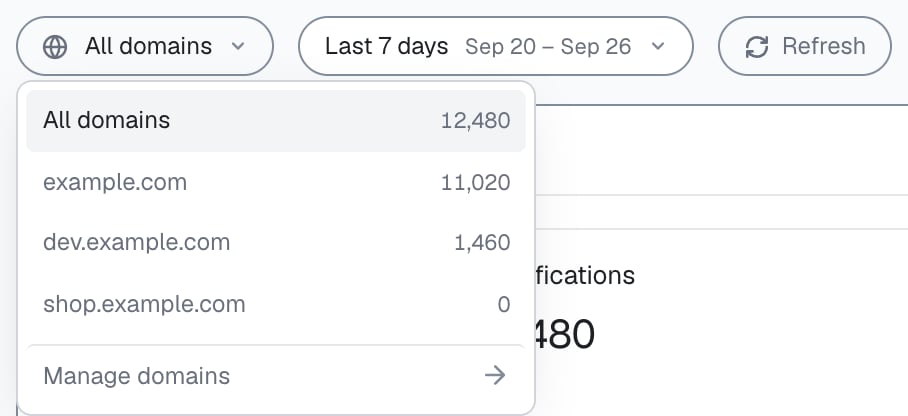
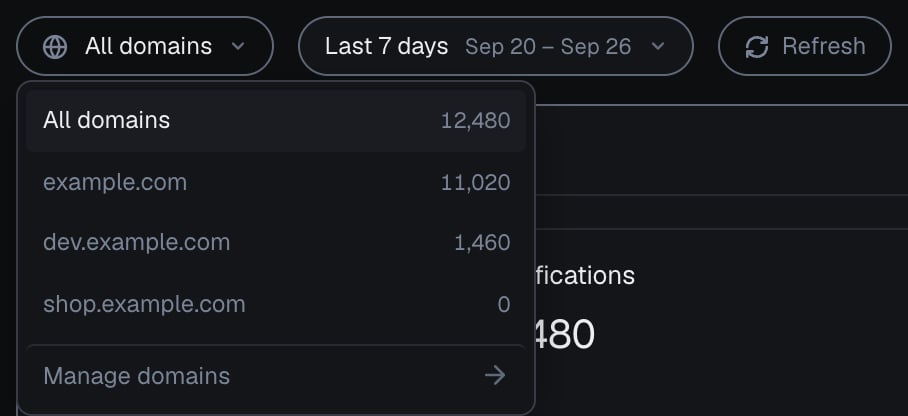
* **Clean data.** Development traffic stays on its own domain, so when you pick your production domain in the analytics dashboard's domain picker instead of **All domains**, its users, devices, [High-Risk Events](/features/high-risk-events) and [traffic sources](/features/traffic-analytics) reflect live traffic only.
* **Isolated webhooks.** Each domain registers its own [webhook endpoints](/setup/webhooks), so test deliveries hit your local handler and never your production endpoint.
* **One shared quota.** Identifications on the development domain count against your account's included identifications like any other, so keep test traffic small. Billing is [per identification](/billing).
* **Blast-radius control.** A leaked development secret cannot call the [Server API](/api/server-api) for your production domain. Keys are scoped to a single domain. Webhook `whsec_…` secrets are scoped per endpoint.
Register the development host as its own domain, and do not reuse one key set across environments. While `example.com` accepts subdomains (the default), a page on `dev.example.com` that loads the production Public Key is accepted and its traffic lands in production. Once `dev.example.com` is its own domain, the production key is rejected there with a `401`. A single secret shared across environments also means a development leak compromises production.
## Wire the keys through config
Load the Public Key from environment config instead of hardcoding it, so the same build runs in both environments. Keep the **Private API Key** (for [History API](/api/server-api) reads) and the **Secret Key** (for the Management API) server-side only, and store each webhook **`whsec_…`** for signature verification. None of them may reach the browser.
```bash .env.development theme={null}
NEXT_PUBLIC_SHIELDLABS_PUBLIC_KEY=YOUR_DEV_PUBLIC_KEY # public, safe in the browser build
SHIELDLABS_DOMAIN=dev.example.com
SHIELDLABS_PRIVATE_API_KEY=sec_YOUR_DEV_PRIVATE_API_KEY # server-side only, History API reads
SHIELDLABS_SECRET=YOUR_DEV_SECRET # server-side only, Management API
SHIELDLABS_WEBHOOK_SECRET=whsec_... # server-side only, dev endpoint
```
```bash .env.production theme={null}
NEXT_PUBLIC_SHIELDLABS_PUBLIC_KEY=YOUR_PROD_PUBLIC_KEY # public, safe in the browser build
SHIELDLABS_DOMAIN=example.com
SHIELDLABS_PRIVATE_API_KEY=sec_YOUR_PROD_PRIVATE_API_KEY # server-side only, History API reads
SHIELDLABS_SECRET=YOUR_PROD_SECRET # server-side only, Management API
SHIELDLABS_WEBHOOK_SECRET=whsec_... # server-side only, prod endpoint
```
A framework component then reads the Public Key from config and loads the module the same way in every environment. Pass the hashed User HID when the user is signed in:
```jsx ShieldLabsTracker.jsx theme={null}
'use client';
import { useEffect } from 'react';
// Public value, safe to expose in the browser build.
const PUBLIC_KEY = process.env.NEXT_PUBLIC_SHIELDLABS_PUBLIC_KEY;
export function ShieldLabsTracker({ hashedUserId }) {
useEffect(() => {
let cancelled = false;
(async () => {
const mod = await import(
/* webpackIgnore: true */
`https://cdn.shieldlabs.ai/snippet.js?publicKey=${PUBLIC_KEY}`
);
if (cancelled) return;
hashedUserId
? mod.checkAuthenticatedUser(hashedUserId)
: mod.checkAnonymous();
})();
return () => { cancelled = true; };
}, [hashedUserId]);
return null;
}
```
Your [Content-Security-Policy](/setup/csp) is the same in every environment: `https://cdn.shieldlabs.ai` in `script-src`, and `https://rest.shieldlabs.ai`, `wss://rest.shieldlabs.ai`, `https://webrtc.shieldlabs.ai` and `stun:ice.shieldlabs.ai:3478` in `connect-src`. If the page includes the `
## Receiving webhooks in development
Your development webhook needs a publicly reachable URL. Run a tunnel to your local server and register it as an endpoint for the development domain under **Integration > Webhooks** in the analytics dashboard:
```bash theme={null}
# expose your local server
ngrok http 3000
# -> https://abc123.ngrok.app
```
Add `https://abc123.ngrok.app/webhooks/shieldlabs` as an endpoint in the [analytics dashboard](https://app.shieldlabs.ai/), copy that endpoint's `whsec_…` secret into `SHIELDLABS_WEBHOOK_SECRET`, and verify `X-Shield-Signature` exactly as you will in production. The [Webhooks](/setup/webhooks) guide carries the verification logic, the single webhook per scored identification (ShieldLabs waits for follow-up network checks, at most about 10 seconds, then sends the final Risk Score once), and the at-most-once delivery caveat.
Webhooks are at-most-once with no retries, so a tunnel that is down means a missed delivery. When your local handler is offline, read results back with the [History API](/api/server-api) using that domain's Private API Key. Make handlers idempotent on `request_id` either way.
## Test with real traffic before production
Risk Scores reflect the actual connection and browser environment of whoever loads the page, so the most useful test is **real traffic on a real development domain**, not synthetic requests.
Register `dev.example.com`, load the snippet with the development domain's Public Key on a staging or preview deployment, and let real traffic flow through it. Pick a hostname that resolves in public DNS, such as a staging or preview subdomain: adding a domain checks that the hostname exists, and a page served from `localhost` has no registered domain to match, so its identification calls get `401`.
Confirm identifications appear under your development domain in the analytics dashboard and that webhooks reach your tunnel. Sign in with a test account so the identifications carry a User HID, and check that `user_hid` arrives on the webhook. Check the `signals` array to see which [risk signals](/features/risk-signals) fired and why. Within one visit, the snippet runs at most one identification every five minutes for the same user; call `forceCheckAnonymous` or `forceCheckAuthenticatedUser` when a test needs a new identification on demand.
Choose the action for each band (Trusted 0-29, Suspicious 30-59, Dangerous 60-100) and verify the behavior on this real traffic, the way [acting on results](/guides/acting-on-risk-score) lays out.
Swap the keys to the production domain's key set through config (on Free and Starter, delete the development domain first so the production domain has a slot). Nothing else in your code changes.
Read a high Risk Score together with its named risk signals and the user's history. A real customer on a corporate VPN can reach the Suspicious band; the signals show why, and you choose the action for each case. Testing with real traffic on a development domain shows you that distribution before you act on it.
## Promotion checklist
Use the production domain's Public Key in the snippet URL.
Load the production Private API Key on your server for [History API](/api/server-api) reads. It must never reach the browser.
Load the production Secret Key on your server for Management API auth on `api.shieldlabs.ai`. It must never reach the browser.
Register production webhook endpoints for the production domain under **Integration > Webhooks**, not your development tunnel.
Copy each production endpoint's `whsec_…` into your server environment for [webhook verification](/setup/webhooks).
Confirm your production [Content-Security-Policy](/setup/csp) carries every ShieldLabs host in `script-src` and `connect-src`.
## Next steps
Where each key lives and why server keys never ship to the browser.
Register a domain per environment and manage its webhook endpoints.
Verify `X-Shield-Signature` and handle the single scored webhook per identification.
Choose the action for each band: allow, step up, review or block.
This documentation is built and hosted on [Mintlify](https://mintlify.com), a developer documentation platform.