> ## Documentation Index
> Fetch the complete documentation index at: https://docs.shieldlabs.ai/llms.txt
> Use this file to discover all available pages before exploring further.
# Where to integrate
> Where to add ShieldLabs checks in your product, and what to store to act on the result.
A good ShieldLabs rollout starts with a short plan, not a snippet. Detection works out of the box; you choose where to check and the action for each case. This page walks the decisions to make first, so the integration goes in clean and you start acting on your users, the Risk Score of each identification and its risk signals quickly.
Work through five questions in order:
1. **Where** will you identify your users?
2. **What** will you do with the Risk Score, the risk signals and High-Risk Events?
3. **How** will you receive results reliably?
4. **What** will you store to act and to audit?
5. **How** does the snippet install, and which call do you use?
## Pick your identification touchpoints
Load the snippet on your pages and pass a hashed User HID with `checkAuthenticatedUser` on every signed-in page. Users, account-level risk and all four High-Risk Events are built on it. Within one visit (while a page of your site stays open in the browser, across route changes in a single-page app and across open tabs), `checkAnonymous` and `checkAuthenticatedUser` run at most one identification every five minutes for the same user. A call inside that window posts nothing, counts nothing, and its `onInitialized` handler receives `{ status: "not_initialized" }`, so within one visit a call on every signed-in page costs at most one identification every five minutes per user and browser. On a multi-page site, a full page load in the only open tab can start a new visit with its own identification.
Then add a fresh check with a `forceCheck*` call at the moments where the answer changes what you do next:
* **Signup**: score the new account as soon as it exists, and pass its User HID from then on, since Multi-accounting is detected on it.
* **Login**: recognize the account's known devices and step up on an unfamiliar one; Account sharing and Account takeover are detected on the user and are available in the analytics dashboard, the API and webhooks.
* **Checkout and payments**: score a high-value action before money moves.
* **Sensitive account changes**: password resets, email or payout changes, new-device approvals.
For each touchpoint, note whether the user is signed in. That choice maps directly to [which snippet call you use](#map-the-install-and-the-call) below.
Start with one decision point. Login or checkout is usually the fastest to wire and the easiest to measure. Add the others once the first one is acting on real Risk Scores and risk signals.
## Decide how to act on users and identifications
ShieldLabs returns a **Risk Score** from 0 to 100 on each identification, plus a `signals` array naming every risk signal behind it and its weight. You choose the action for each case in your backend.
The API returns only the number, so map it to one of the three bands the [Risk Score](/features/risk-scoring) defines (Trusted 0-29, Suspicious 30-59, Dangerous 60-100) and pick an action that fits the touchpoint: pass Trusted through, and step up, review, or block as the Risk Score climbs. For the account, weigh its history too: the worst band across the user's identifications and any High-Risk Events on the user. The [Acting on results](/guides/acting-on-risk-score) guide details the per-band playbook.
**Watch your baseline first.** For the first week or two, record the Risk Score and `signals` of every check and gate nothing yet. In the [analytics dashboard](/dashboard/overview), look at how your users and traffic spread across the three bands, which risk signals fire most and which High-Risk Events appear on your users. That shows what normal looks like on your platform before any result gates a real user. Move to enforcement once you know your baseline.
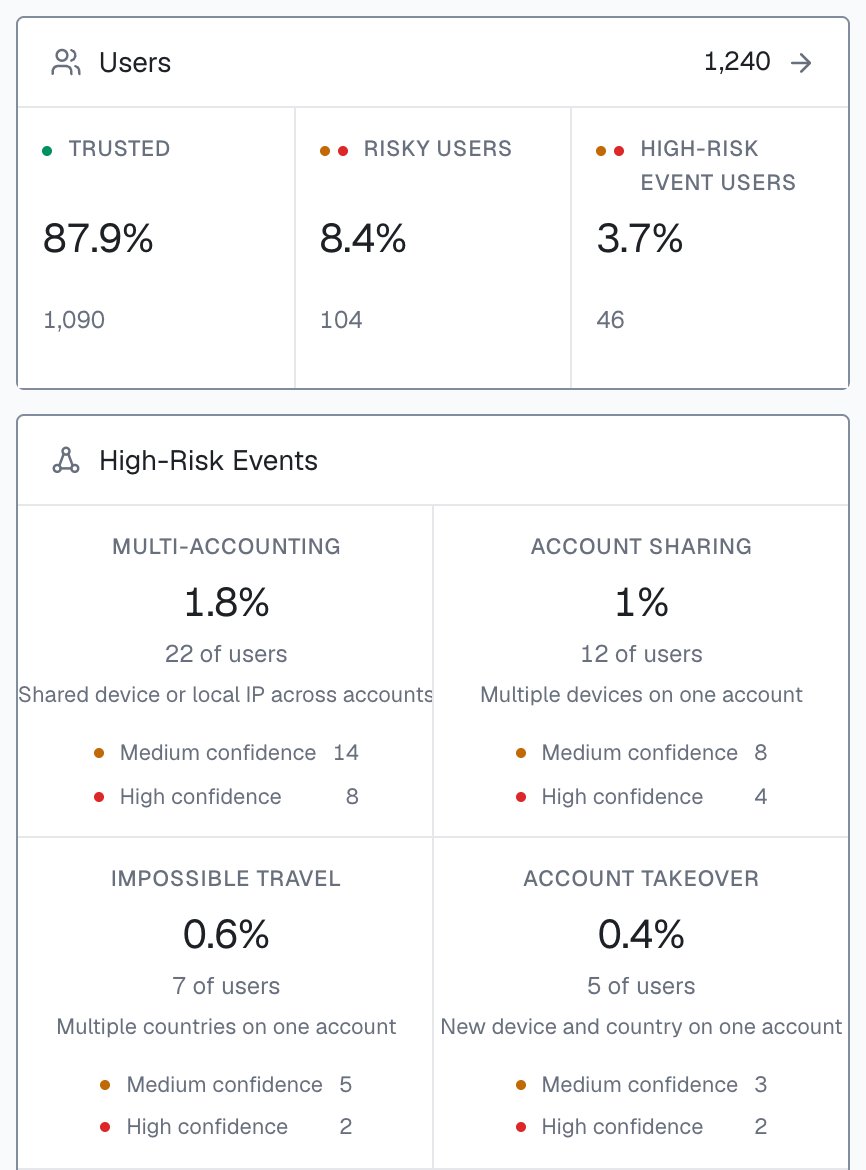
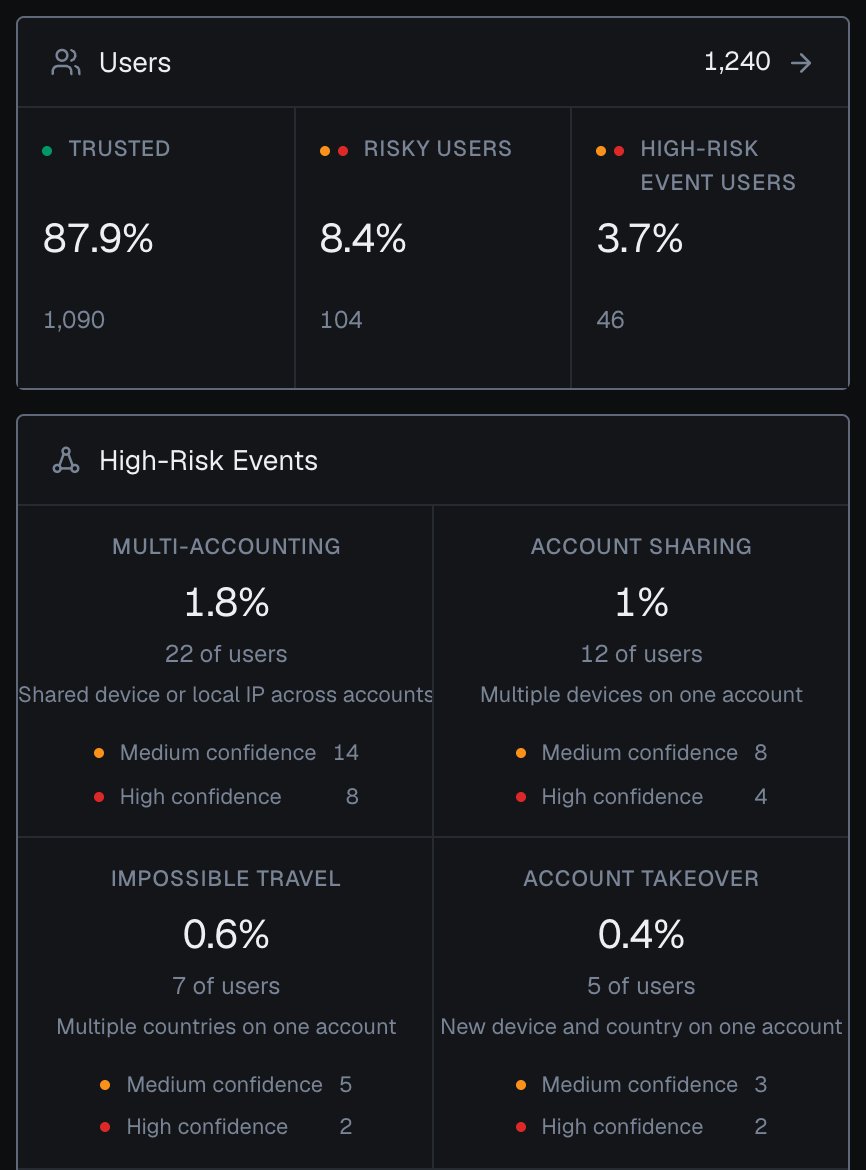 Read a high Risk Score together with its named risk signals and the user's history. A real customer on a corporate VPN can reach the Suspicious band; the signals show why, and you choose the action for each case. The full decision toolkit lives in [Acting on results](/guides/acting-on-risk-score).
[High-Risk Events](/features/high-risk-events) are a second input, a separate axis from the Risk Score. ShieldLabs detects four events on your users out of the box: Multi-accounting, Account sharing, Impossible travel and Account takeover, each at Medium or High confidence. High-Risk Events are available in the analytics dashboard, the API and webhooks, and they are built on the User HID you pass with `checkAuthenticatedUser`. When a High-Risk Event arrives for a user through the API or webhooks, or when you review it in the analytics dashboard, act on the account; you choose the action for each case. The Risk Score and risk signals of the identification remain the input at signup, login, checkout or withdrawal.
## Plan how you receive results
Scoring runs server-side and asynchronously: the snippet's `onInitialized` callback hands you a `requestID` right away, and the Risk Score for that identification arrives by webhook about 300 milliseconds after the check. So plan for two ways to receive the result, and use both.
* **[Webhook](/setup/webhooks) (primary).** ShieldLabs POSTs the scored result to your endpoint as soon as it is ready. This is the real-time path, and webhook delivery is free.
* **History API (fallback).** Read the same result on demand from the [Server API](/api/server-api), keyed by `request_id`, `user_hid`, `device_id`, and more. [Read by `user_hid`](/api/server-api#read-every-identification-of-one-account) to get every identification of one account. History reads are free, so use History wherever you need a guaranteed read.
Build the receiver to two rules:
* **Idempotent on `request_id`.** Each identification produces one webhook. When follow-up network checks run, the server waits for them, at most about 10 seconds, then sends the final `risk_score` once. Key your storage and your decision on `request_id` so a repeat is a no-op.
* **At-most-once delivery.** Webhooks have no retries, so a missed POST is gone. For any decision you cannot afford to miss, fall back to the [History API](/api/server-api) for a guaranteed read. The full delivery contract is on [Webhooks](/setup/webhooks).
Use the webhook for speed and the History API for certainty. A common pattern: act on the webhook when it arrives within your time budget, and poll History by `request_id` if it does not.
## Plan what you store
You act on results in your backend. Plan to store what your application needs to act and to audit later.
* **Verify first.** Confirm the [webhook HMAC](/setup/webhooks) before you trust the payload, then store. Verification belongs server-side, with the endpoint's `whsec_` signing secret.
* **Store the join keys.** Keep `request_id` against your own session, user or order so you can reconcile the asynchronous result with the action that triggered it, and keep `user_hid` and `device_id` so you can read the account's history later.
* **Store the evidence.** Persist the `risk_score` and `signals` you acted on. When you review a decision later, the risk signals are the explanation.
* **Own your retention.** ShieldLabs holds identification history for reads via the API; if your business needs a longer record, keep your own copy on your side and set retention to your own policy.
Track an outcome metric from day one, for example the share of high-risk logins you challenged, or chargebacks on checkouts you allowed. Reviewing it shows, with evidence, whether each action fits your traffic.
## Map the install and the call
Integration is one JavaScript snippet plus your server reading results over the API and webhooks. The snippet is an ES module loaded from `cdn.shieldlabs.ai` with a dynamic `import()`. Full install steps are in [Install the snippet](/setup/snippet).
**Integration > Install** in the analytics dashboard shows both snippets with your Public Key filled in, and the four snippet calls in the table below.
Read a high Risk Score together with its named risk signals and the user's history. A real customer on a corporate VPN can reach the Suspicious band; the signals show why, and you choose the action for each case. The full decision toolkit lives in [Acting on results](/guides/acting-on-risk-score).
[High-Risk Events](/features/high-risk-events) are a second input, a separate axis from the Risk Score. ShieldLabs detects four events on your users out of the box: Multi-accounting, Account sharing, Impossible travel and Account takeover, each at Medium or High confidence. High-Risk Events are available in the analytics dashboard, the API and webhooks, and they are built on the User HID you pass with `checkAuthenticatedUser`. When a High-Risk Event arrives for a user through the API or webhooks, or when you review it in the analytics dashboard, act on the account; you choose the action for each case. The Risk Score and risk signals of the identification remain the input at signup, login, checkout or withdrawal.
## Plan how you receive results
Scoring runs server-side and asynchronously: the snippet's `onInitialized` callback hands you a `requestID` right away, and the Risk Score for that identification arrives by webhook about 300 milliseconds after the check. So plan for two ways to receive the result, and use both.
* **[Webhook](/setup/webhooks) (primary).** ShieldLabs POSTs the scored result to your endpoint as soon as it is ready. This is the real-time path, and webhook delivery is free.
* **History API (fallback).** Read the same result on demand from the [Server API](/api/server-api), keyed by `request_id`, `user_hid`, `device_id`, and more. [Read by `user_hid`](/api/server-api#read-every-identification-of-one-account) to get every identification of one account. History reads are free, so use History wherever you need a guaranteed read.
Build the receiver to two rules:
* **Idempotent on `request_id`.** Each identification produces one webhook. When follow-up network checks run, the server waits for them, at most about 10 seconds, then sends the final `risk_score` once. Key your storage and your decision on `request_id` so a repeat is a no-op.
* **At-most-once delivery.** Webhooks have no retries, so a missed POST is gone. For any decision you cannot afford to miss, fall back to the [History API](/api/server-api) for a guaranteed read. The full delivery contract is on [Webhooks](/setup/webhooks).
Use the webhook for speed and the History API for certainty. A common pattern: act on the webhook when it arrives within your time budget, and poll History by `request_id` if it does not.
## Plan what you store
You act on results in your backend. Plan to store what your application needs to act and to audit later.
* **Verify first.** Confirm the [webhook HMAC](/setup/webhooks) before you trust the payload, then store. Verification belongs server-side, with the endpoint's `whsec_` signing secret.
* **Store the join keys.** Keep `request_id` against your own session, user or order so you can reconcile the asynchronous result with the action that triggered it, and keep `user_hid` and `device_id` so you can read the account's history later.
* **Store the evidence.** Persist the `risk_score` and `signals` you acted on. When you review a decision later, the risk signals are the explanation.
* **Own your retention.** ShieldLabs holds identification history for reads via the API; if your business needs a longer record, keep your own copy on your side and set retention to your own policy.
Track an outcome metric from day one, for example the share of high-risk logins you challenged, or chargebacks on checkouts you allowed. Reviewing it shows, with evidence, whether each action fits your traffic.
## Map the install and the call
Integration is one JavaScript snippet plus your server reading results over the API and webhooks. The snippet is an ES module loaded from `cdn.shieldlabs.ai` with a dynamic `import()`. Full install steps are in [Install the snippet](/setup/snippet).
**Integration > Install** in the analytics dashboard shows both snippets with your Public Key filled in, and the four snippet calls in the table below.
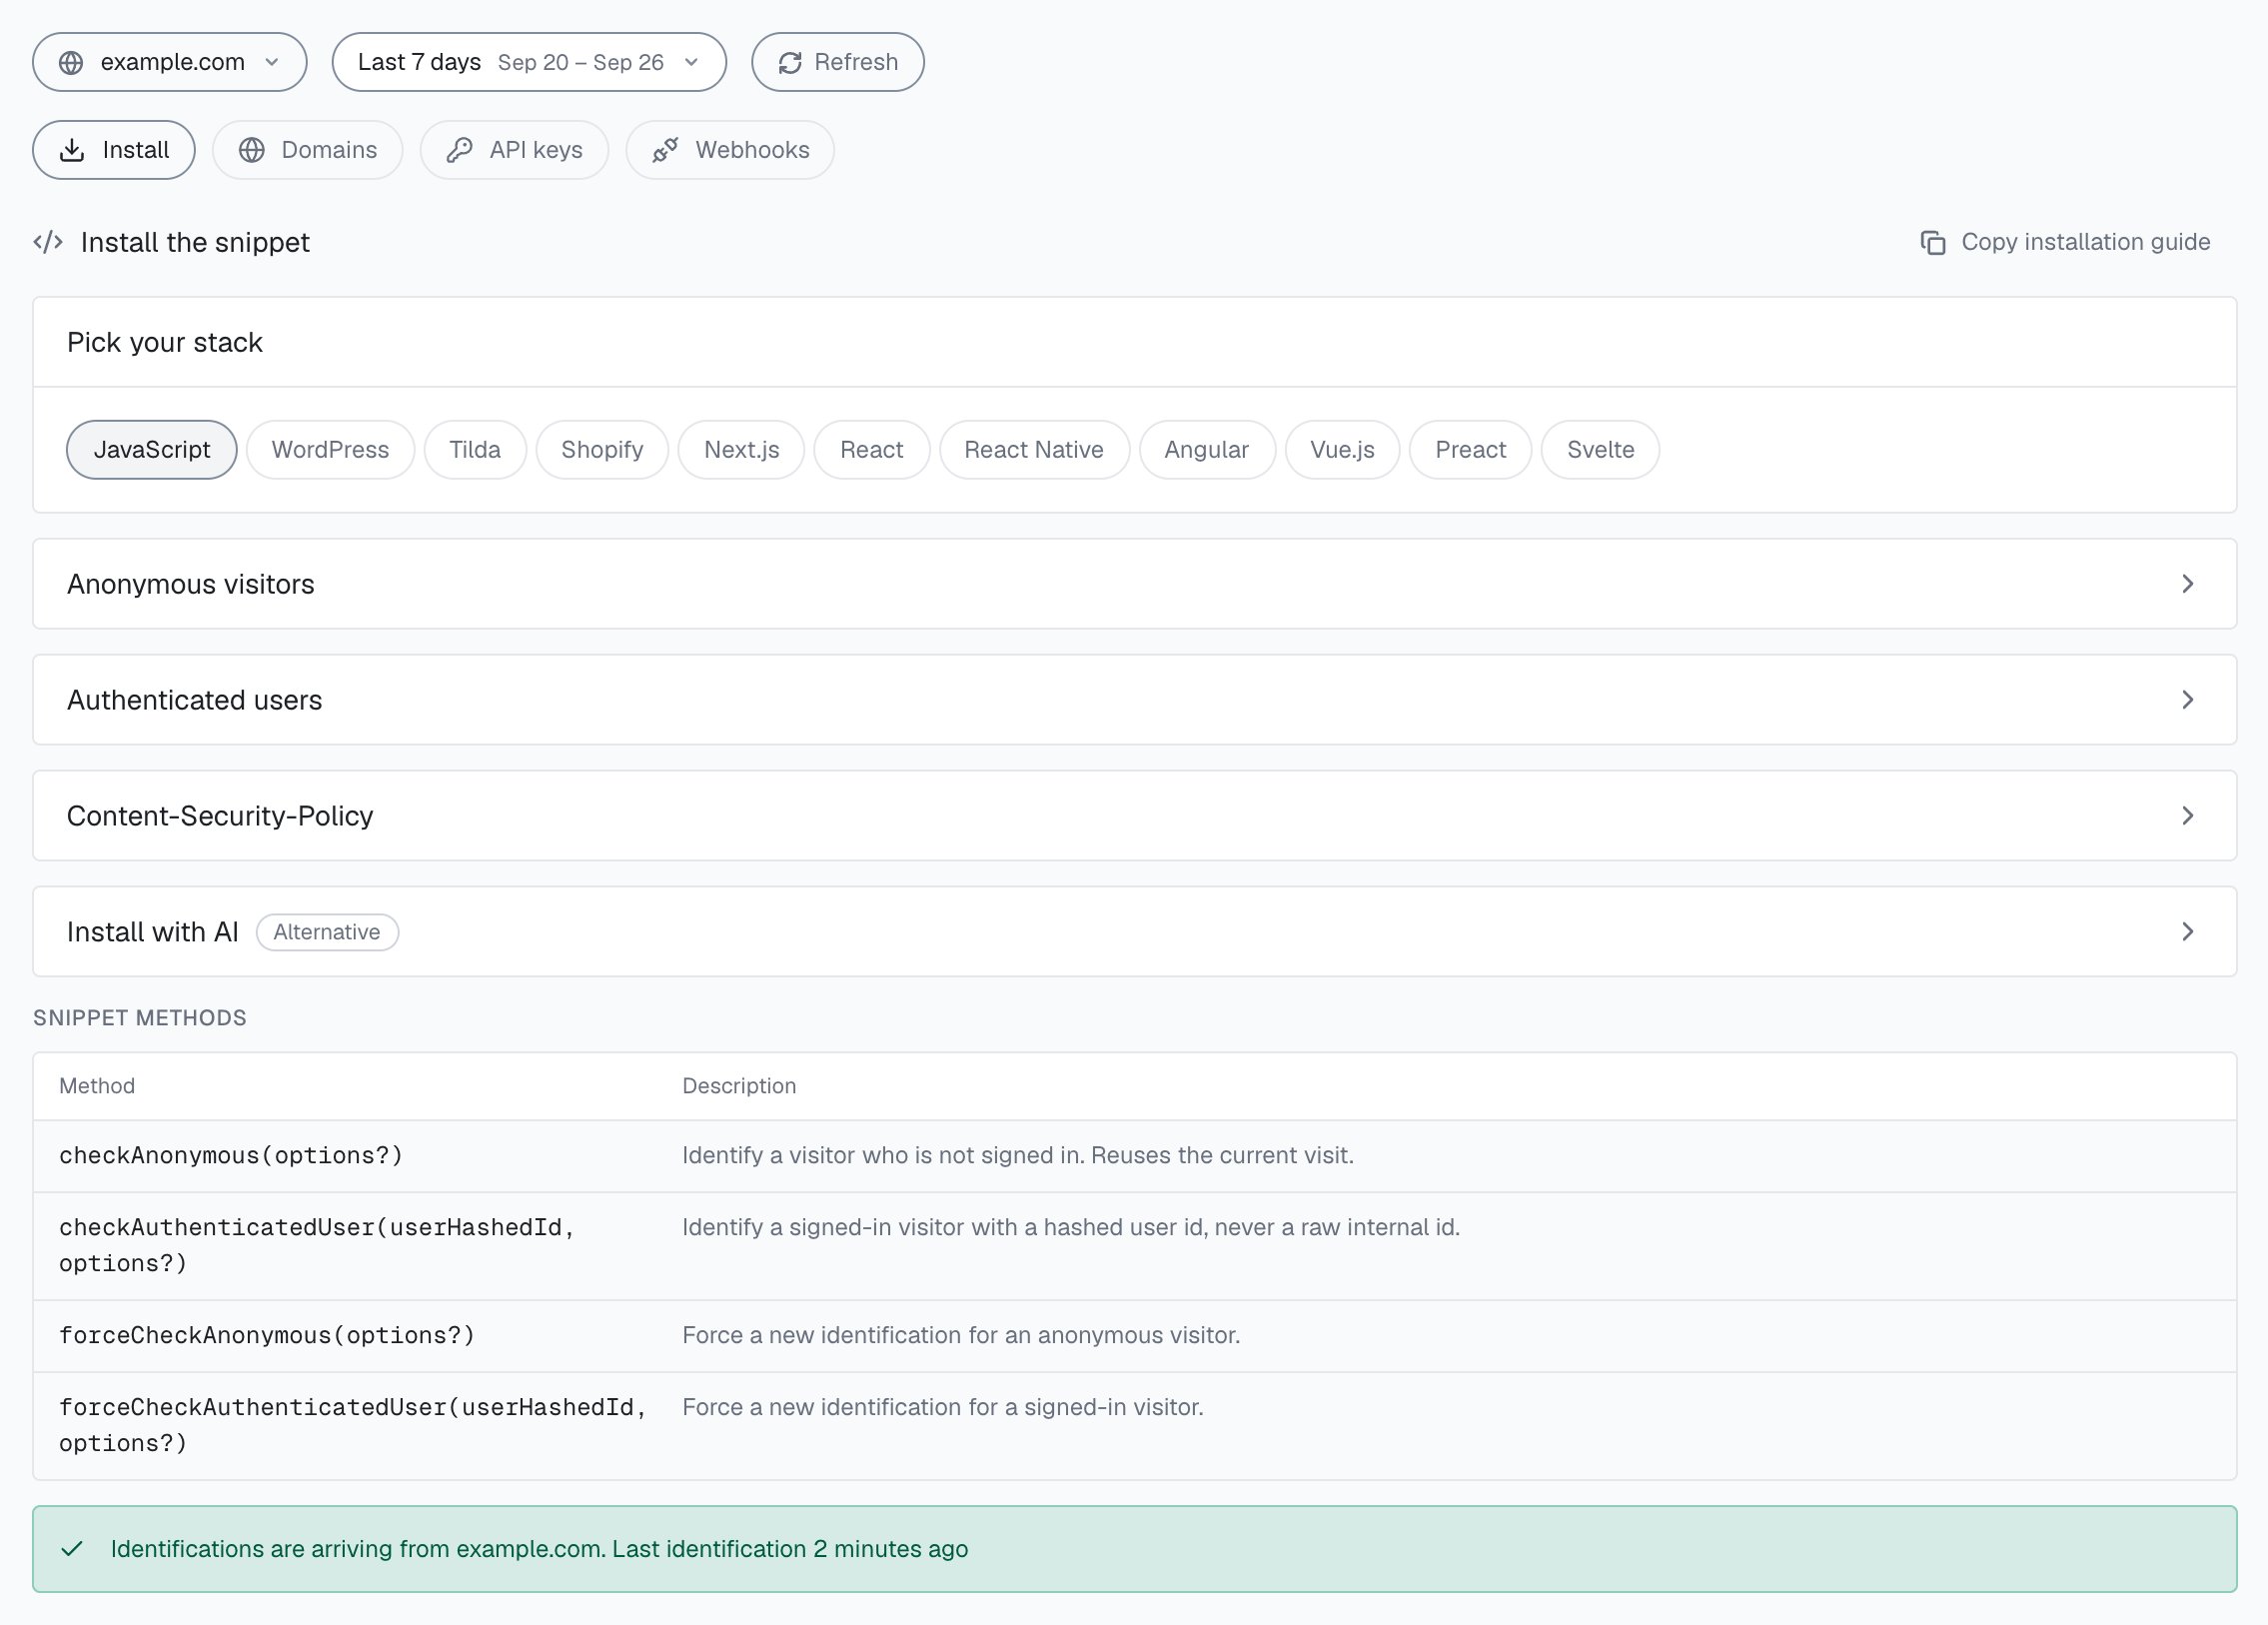
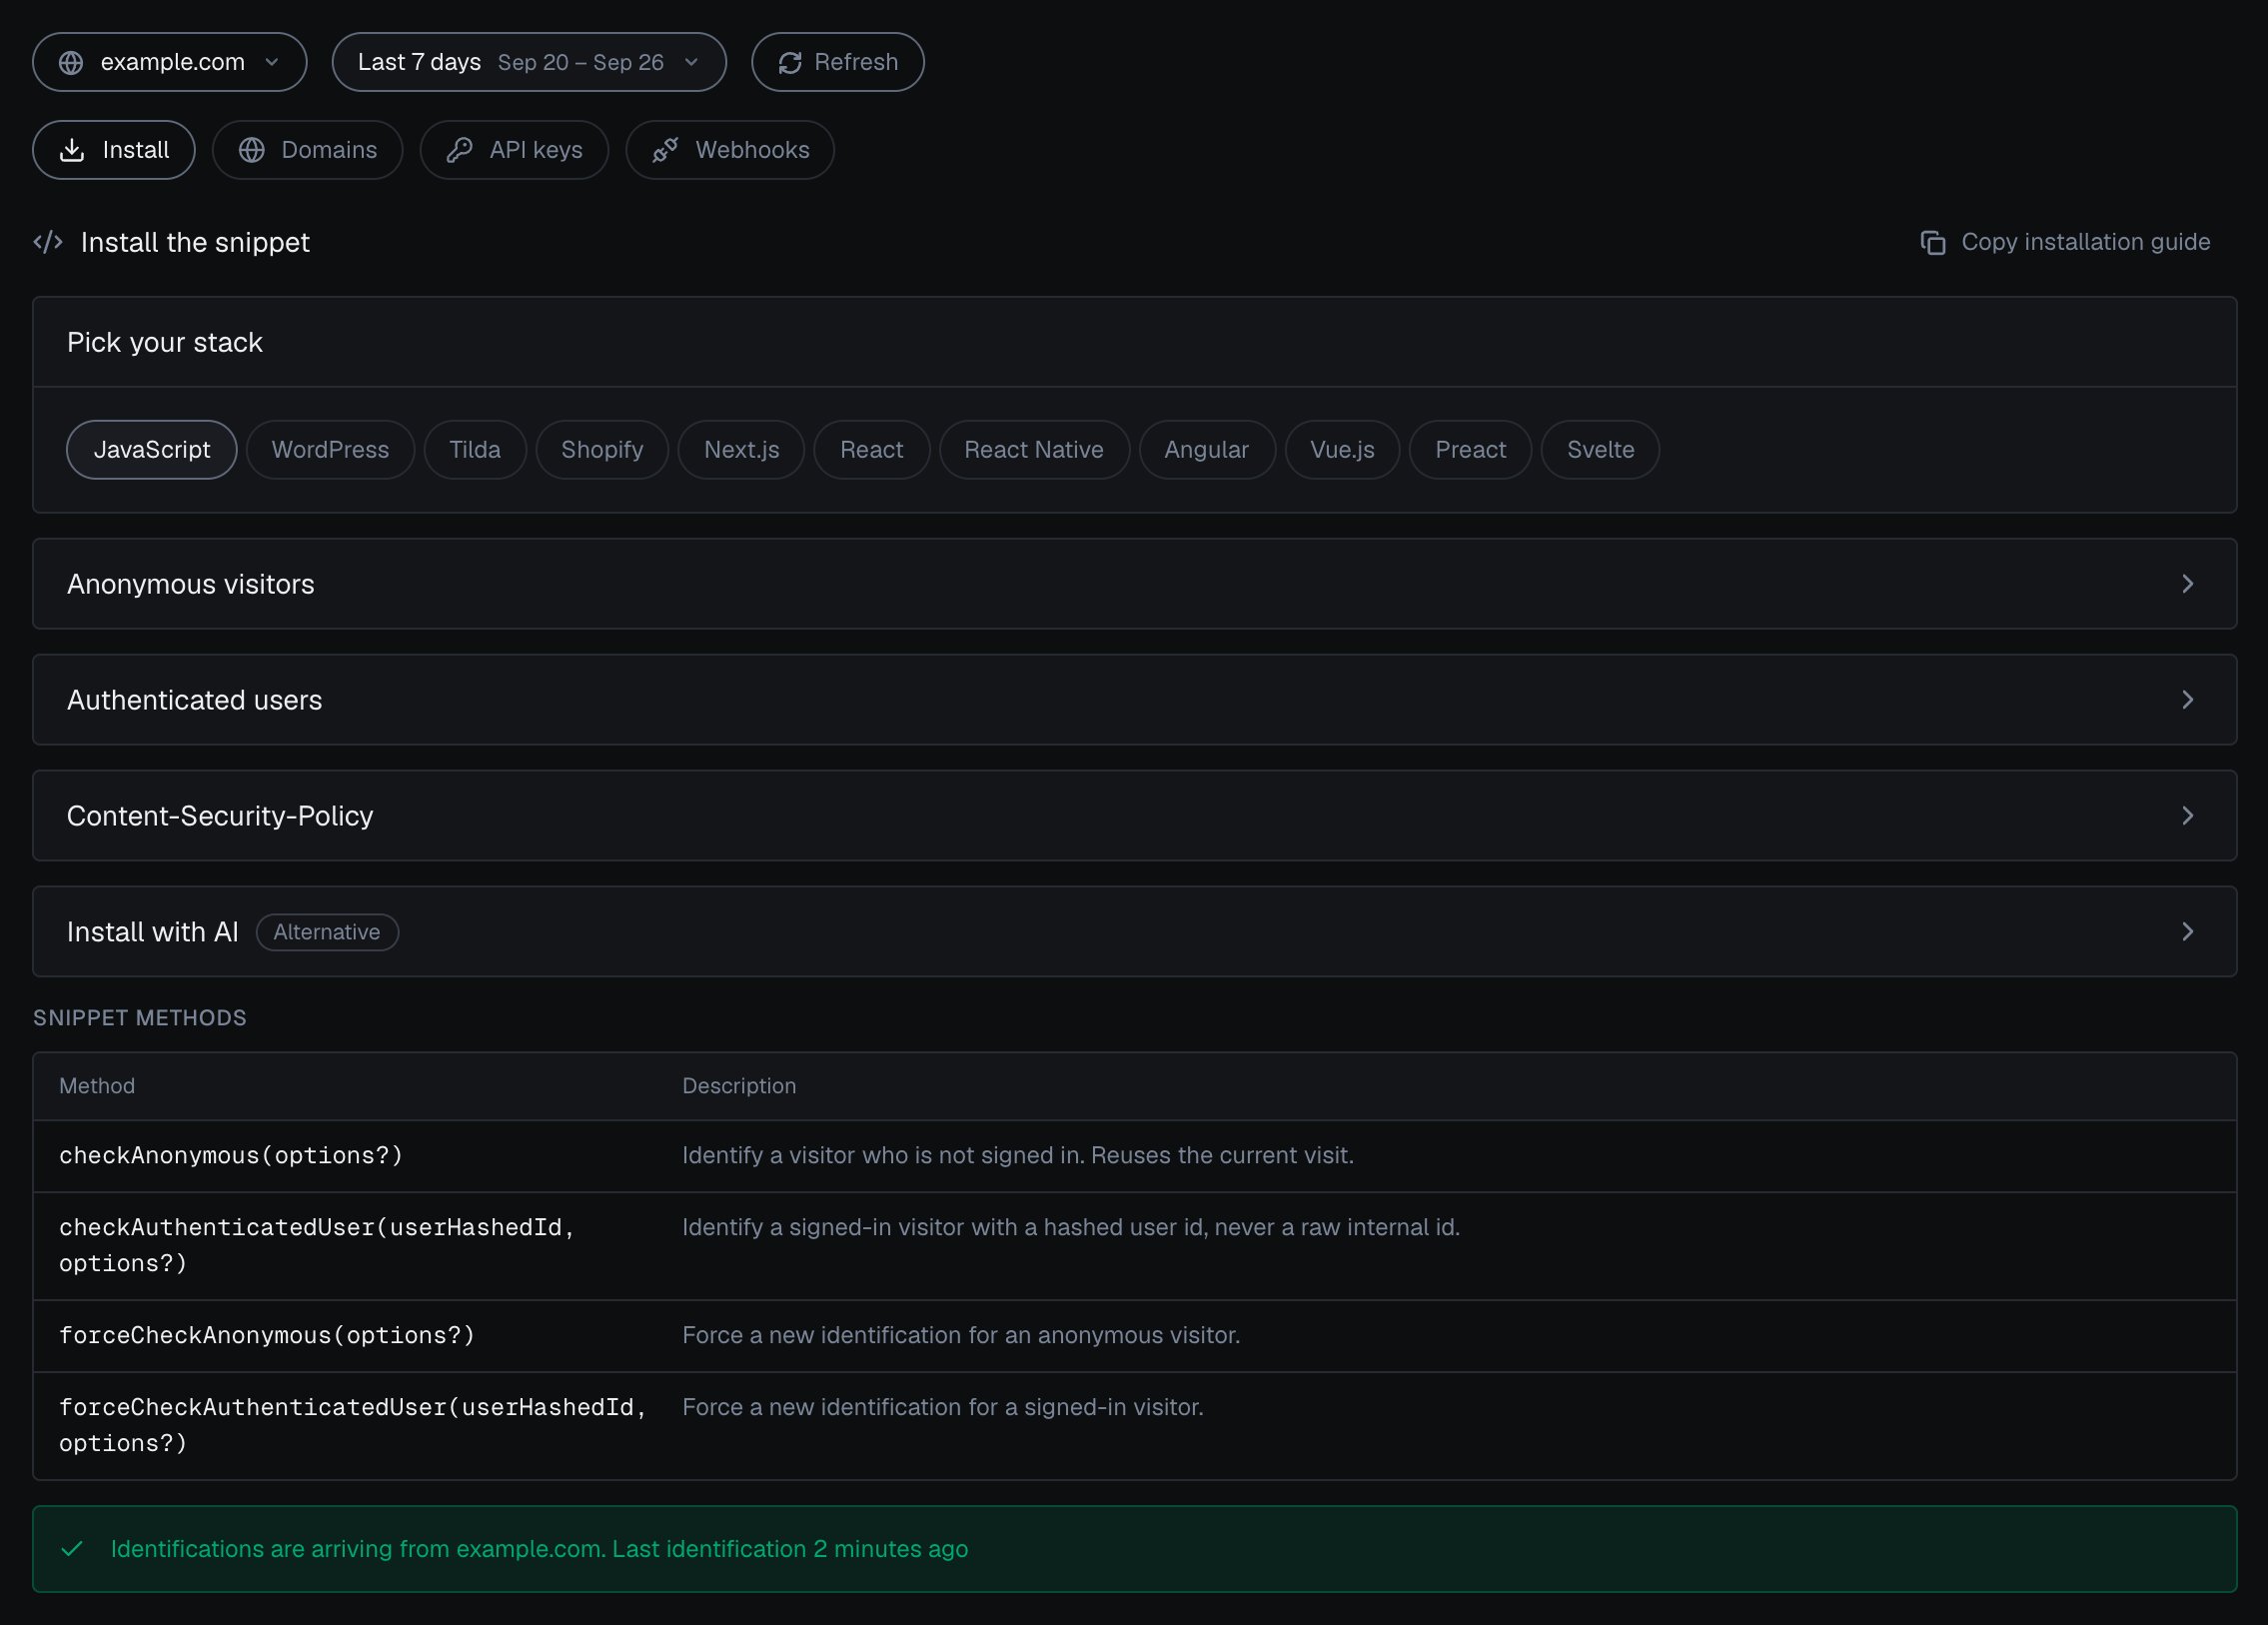 Pick the call per touchpoint:
| Call | Use it when | Touchpoint |
| - | - | - |
| `checkAnonymous` | No user is signed in | Landing pages, anonymous signup start |
| `checkAuthenticatedUser` | The user is signed in: pass the hashed User HID | Every signed-in page, account area |
| `forceCheckAnonymous` | You need a fresh identification now, inside the five-minute window | Before a sensitive anonymous action |
| `forceCheckAuthenticatedUser` | You need a fresh identification of the signed-in user now | Right after signup or login, before checkout or a payout change |
The `forceCheck*` calls run an identification every time, keep the current Session ID and restart the five-minute window. Reach for them at the exact moment a decision is made, so the Risk Score is keyed to that action. Always pass a **hashed or pseudonymous** User HID to the authenticated calls, never a raw email or account id.
## Plan for CSP and ad blockers
Two environment factors can stop the snippet from loading or reaching the data endpoints. Plan for both before launch.
* **Content Security Policy.** If your site sends a strict CSP header, allowlist the ShieldLabs snippet host and data endpoints, or the module will be blocked. The exact `script-src` and `connect-src` entries are in [Content Security Policy](/setup/csp).
* **Ad blockers.** Some blockers drop third-party requests, which can suppress identification for a slice of your traffic. The snippet is served only from `cdn.shieldlabs.ai`, so plan for that slice when you read your numbers.
Test the snippet behind your real CSP and with a common ad blocker enabled before you rely on the results. A blocked snippet looks like silent traffic, not an error.
## Next steps
Go from signup to your first identified user and a verified webhook carrying a live Risk Score.
Add the ES module, identify signed-in users, and read the request ID in your framework.
Register your endpoint, verify the HMAC, and handle the single scored webhook.
Turn the Risk Score, its risk signals and the account's history into an allow, step-up, review or block path.
This documentation is built and hosted on [Mintlify](https://mintlify.com), a developer documentation platform.
Pick the call per touchpoint:
| Call | Use it when | Touchpoint |
| - | - | - |
| `checkAnonymous` | No user is signed in | Landing pages, anonymous signup start |
| `checkAuthenticatedUser` | The user is signed in: pass the hashed User HID | Every signed-in page, account area |
| `forceCheckAnonymous` | You need a fresh identification now, inside the five-minute window | Before a sensitive anonymous action |
| `forceCheckAuthenticatedUser` | You need a fresh identification of the signed-in user now | Right after signup or login, before checkout or a payout change |
The `forceCheck*` calls run an identification every time, keep the current Session ID and restart the five-minute window. Reach for them at the exact moment a decision is made, so the Risk Score is keyed to that action. Always pass a **hashed or pseudonymous** User HID to the authenticated calls, never a raw email or account id.
## Plan for CSP and ad blockers
Two environment factors can stop the snippet from loading or reaching the data endpoints. Plan for both before launch.
* **Content Security Policy.** If your site sends a strict CSP header, allowlist the ShieldLabs snippet host and data endpoints, or the module will be blocked. The exact `script-src` and `connect-src` entries are in [Content Security Policy](/setup/csp).
* **Ad blockers.** Some blockers drop third-party requests, which can suppress identification for a slice of your traffic. The snippet is served only from `cdn.shieldlabs.ai`, so plan for that slice when you read your numbers.
Test the snippet behind your real CSP and with a common ad blocker enabled before you rely on the results. A blocked snippet looks like silent traffic, not an error.
## Next steps
Go from signup to your first identified user and a verified webhook carrying a live Risk Score.
Add the ES module, identify signed-in users, and read the request ID in your framework.
Register your endpoint, verify the HMAC, and handle the single scored webhook.
Turn the Risk Score, its risk signals and the account's history into an allow, step-up, review or block path.
This documentation is built and hosted on [Mintlify](https://mintlify.com), a developer documentation platform.