

- The account. Each signed-in identification carries the User HID you pass with
checkAuthenticatedUser, so each user builds a history: the worst band of its identifications, the devices, visitors and IP addresses it uses, and any High-Risk Event on it. Read the account’s identifications through the History API byuser_hid. High-Risk Events are available in the analytics dashboard, the API and webhooks. - The identification. Each identification’s Risk Score (0 to 100) and its risk signals arrive on your server by webhook about 300 ms after the check in the browser, at the moment of signup, login or checkout.
Treat everything here as a recommended starting point. The 0 to 100 scale is fixed. You choose where to draw the action line for each case; the right line depends on how costly a wrong allow or a wrong block is for the action in front of you.
The principle: the account, the Risk Score, its risk signals and the action
The number alone is never the decision. A Risk Score of 65 on a blog comment and a 65 on a $5,000 withdrawal are the same number and completely different situations. Make every decision from four inputs: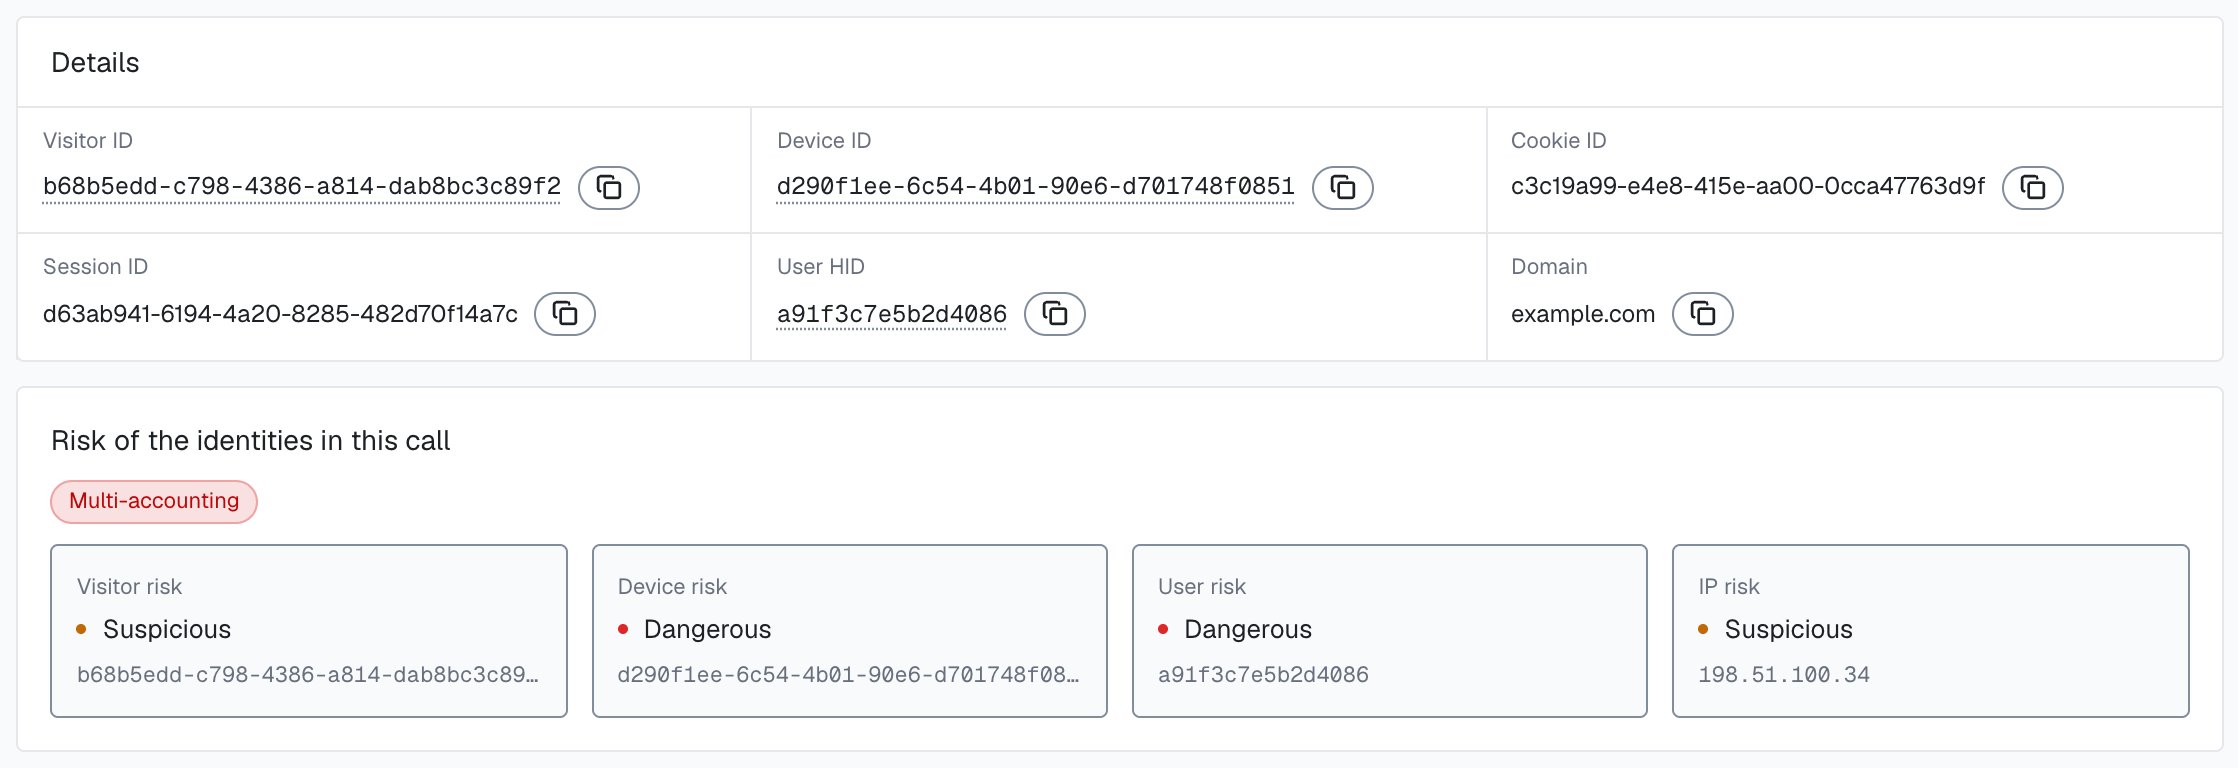
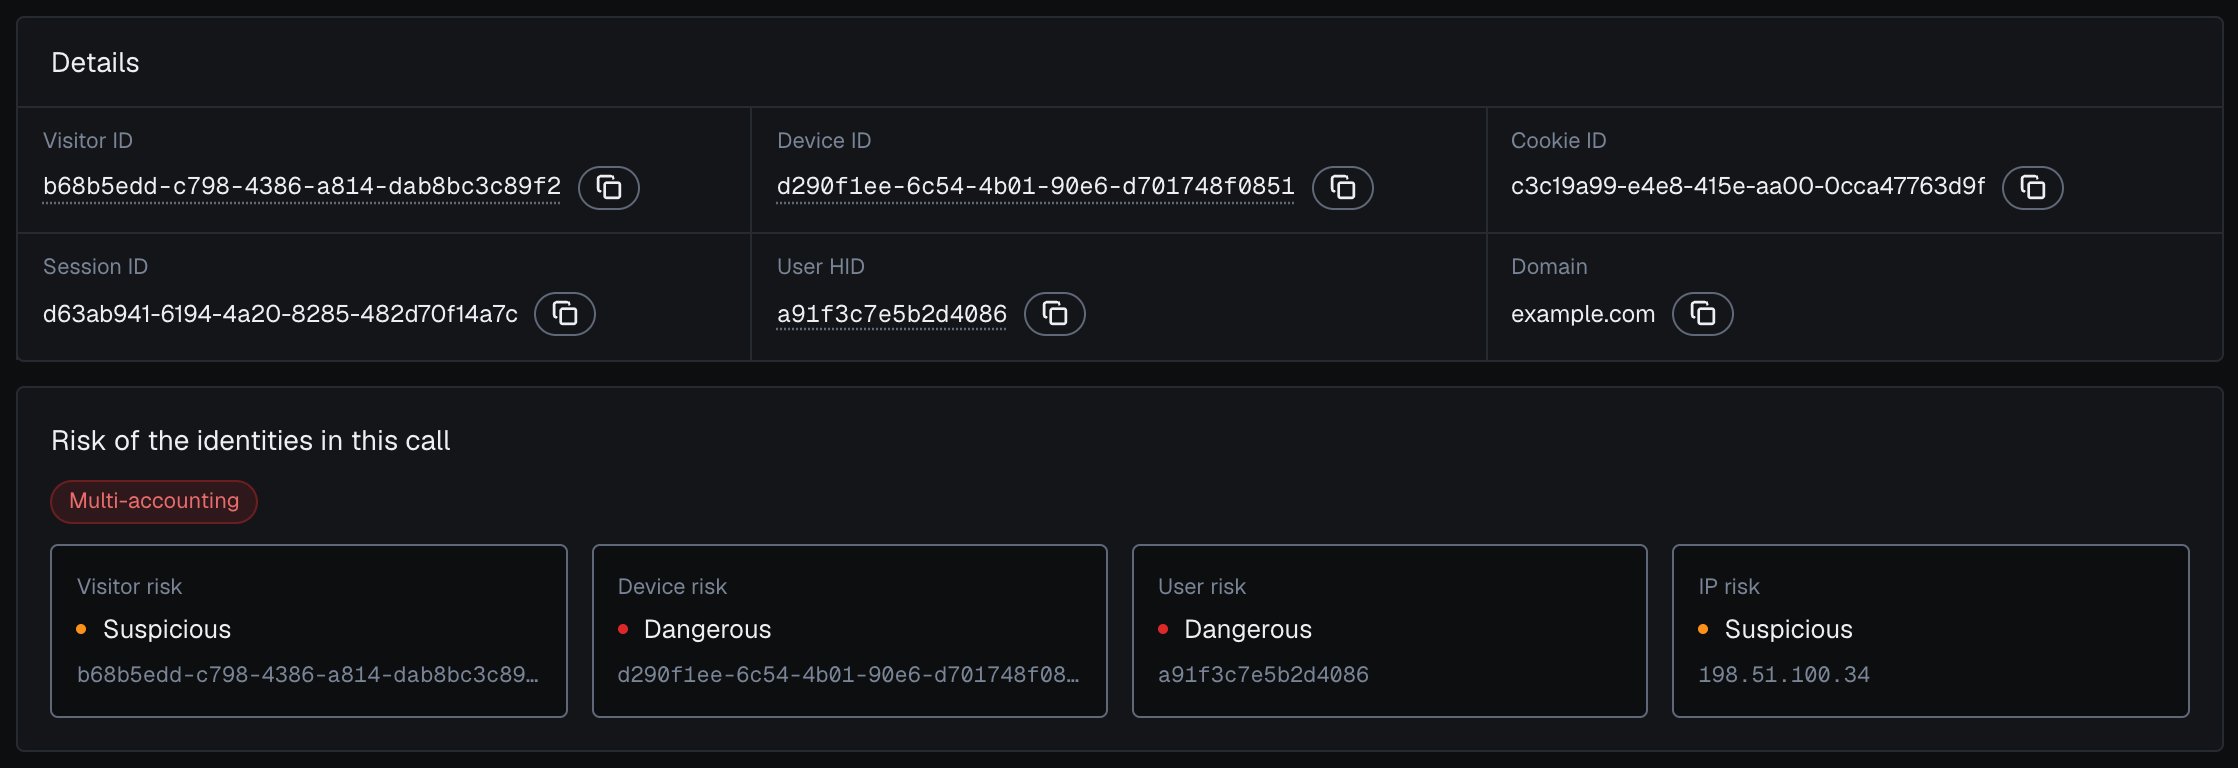
One identification and the risk of the user, device, visitor and IP it belongs to, in the analytics dashboard.
signals array of { "name": "<slug>", "weight": <int> } entries, one per risk signal that added weight, so you can log the reasons behind a number. History API rows carry score_details instead, a JSON string of internal descriptions and debug entries (see the warning below). Drive the decision off the band, the weights, and which risk signals fired: branch on the signals[].name slugs or on the detection_flags booleans, and never assume one entry per slug. Read Risk Scoring for how the Risk Score is built and weighted, and Risk Signals for what each risk signal means.
The default band-to-action ladder
Every Risk Score falls into one of three bands. The payload carries only the number (risk_score on the webhook, score on the History API), with no band field, so map the number to a band in your backend. The recommended action per band is a sensible default you should adapt per scenario below.
Default ladder (Node.js)
The bands come straight from the Risk Score:
Trusted 0-29, Suspicious 30-59, Dangerous 60-100. 999 is the rate-limit marker, not a 0 to 100 Risk Score, but it can still arrive in the Risk Score field (risk_score on the webhook, score on the History API), so guard the value > 100; see the Implementation notes below.Hard rules on specific risk signals
The band folds every risk signal into one number, but sometimes you want to act on a specific tell no matter the Risk Score. Branch on thedetection_flags booleans (or the signals[].name slugs) for that. The object ships on every webhook; here it is shortened, for an identification from a proxy on a datacenter IP with a record of abuse:
Flag-level override
proxy_routed_antidetect has no detection_flags key, so the rule reads it from signals.
Per-scenario cut-points
The cost of a mistake changes with the action, so the cut-point should too. Be lenient where a wrong block annoys a real user but costs little (a blog comment), and strict where a wrong allow moves money or grants trust (a withdrawal, or KYC, Know Your Customer identity verification). The tables below are recommended starting points; calibrate them against your own data as described in rule 2 below.Signup
The most common entry point for multi-accounting, promo and bonus abuse, and account farms. The account is new at signup, so the Risk Score and risk signals of this identification carry most of the decision, with the device’s history next to them (see below). Be generous in the Trusted band so you do not tax real users, and reserve hard friction for clear Dangerous-band identifications.Signup decision
device_id and check which User HIDs it already carries. Then pass the new account’s User HID with checkAuthenticatedUser from its first signed-in page, so the account builds its own history and ShieldLabs can detect Multi-accounting on it.
Login and 2FA
At login you already have an account and its history, so you can be a little more permissive on the raw Risk Score and lean on step-up authentication (an extra verification step) you already own. A Suspicious Risk Score is a strong reason to require a second factor, and so is a device the account has never used: compare the identification’sdevice_id with the devices in the account’s earlier identifications (History API by user_hid). Reserve a block for Dangerous-band identifications and for accounts with an Account takeover event.
Login decision
Checkout and payment
Money is moving, so the cut-point drops. Risk signals on a payment (proxy, Tor, a VPN that does not match the saved billing region) deserve a hard look earlier than they would at signup. Add friction in the Suspicious band and gate the Dangerous band behind verification. Add the account layer: a Trusted identification on an account with a recent Dangerous identification, or on an account with a High-Risk Event, earns the Suspicious-band action.Withdrawal and high-value action
The strictest scenario. A wrong allow here is an irreversible loss, so react to risk signals you would wave through elsewhere. Add verification from a Risk Score of 10, inside the Trusted band, and route the Dangerous band to a human. Hold withdrawals for accounts with a Multi-accounting or Account takeover event, whatever the Risk Score of the current identification.Withdrawal decision (strictest)
KYC gating
Use the Risk Score to decide who must complete identity verification before they get a sensitive capability, not to make the identity decision itself. A Suspicious or Dangerous Risk Score is a strong reason to require full KYC up front rather than letting the user defer it.Content, comment, and posting
The most lenient scenario. A wrong block costs you a real contributor; a wrong allow costs you a spam comment you can remove later. Keep friction low and only react meaningfully in the Dangerous band.Acting on High-Risk Events
High-Risk Events are detected on your users rather than on single identifications, and each carries Medium or High confidence. They are available in the analytics dashboard, the API and webhooks. When a High-Risk Event arrives for a user through the API or webhooks, or when you review it on the user’s card in the analytics dashboard, act on the account, reading the event together with the user’s linked devices, visitors and IP addresses, each with the band of the identifications it shares with the user. You choose the action for each case; this table is a starting point.
The confidence depends on the combination of evidence behind the event, and it is a separate axis from the Risk Score. Combine the two: a High confidence event earns its action even when the account’s current identification is Trusted. The Risk Score and risk signals of the identification remain the input at signup, login, checkout and withdrawal. High-Risk Events describes each event.
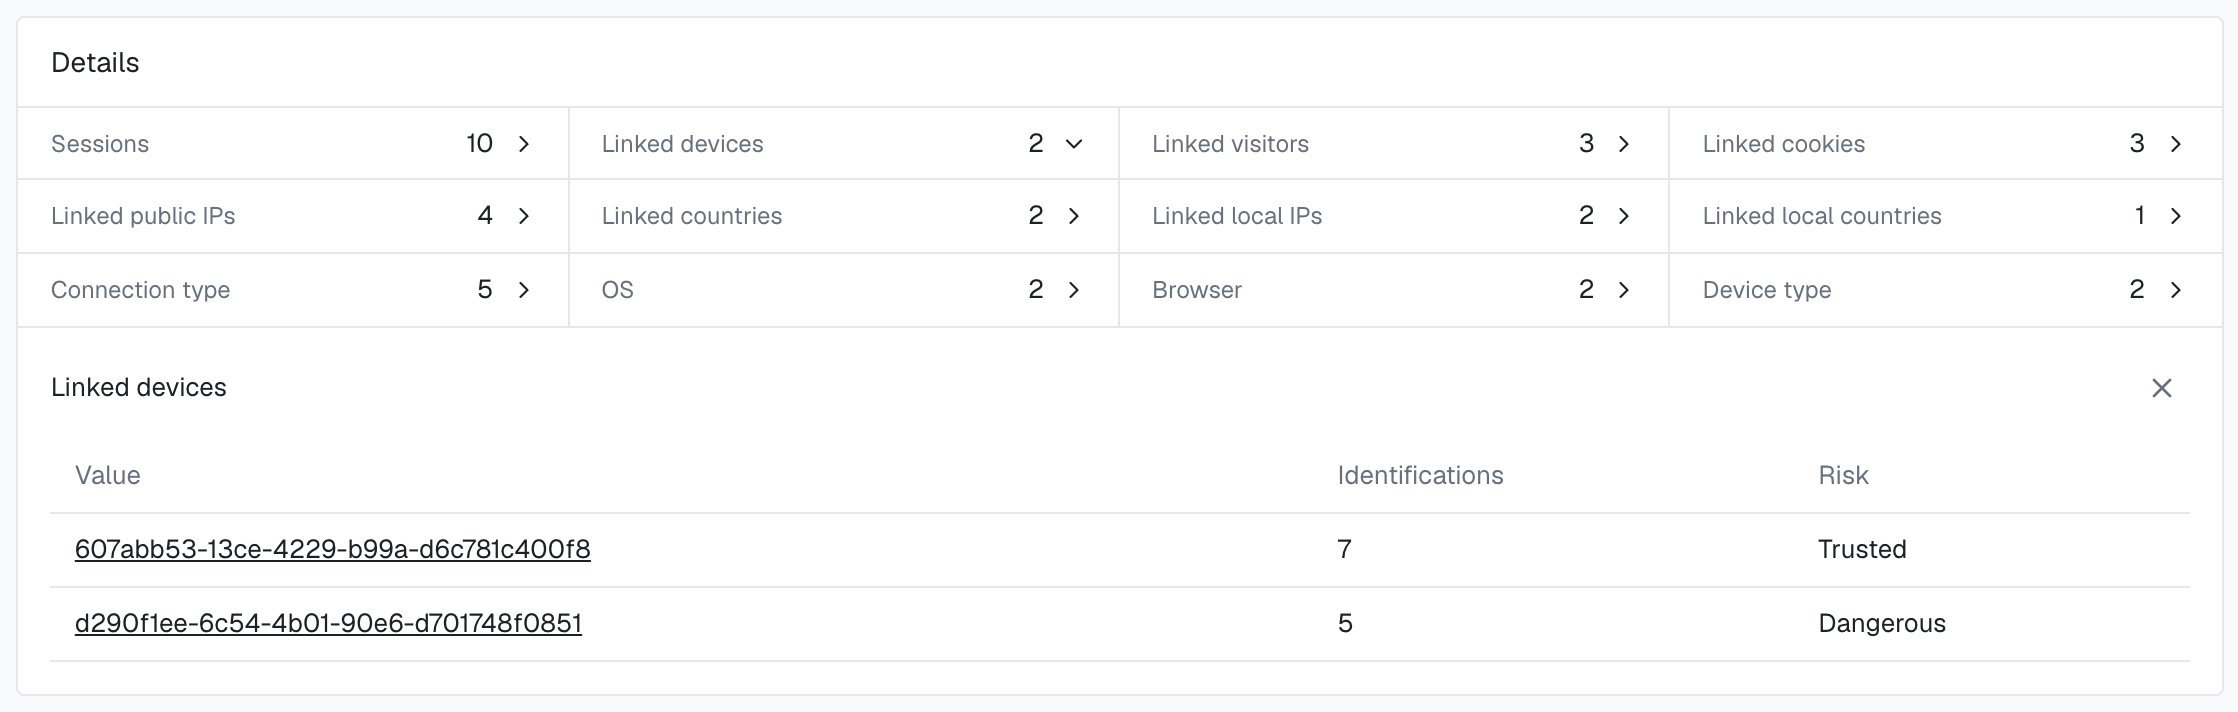
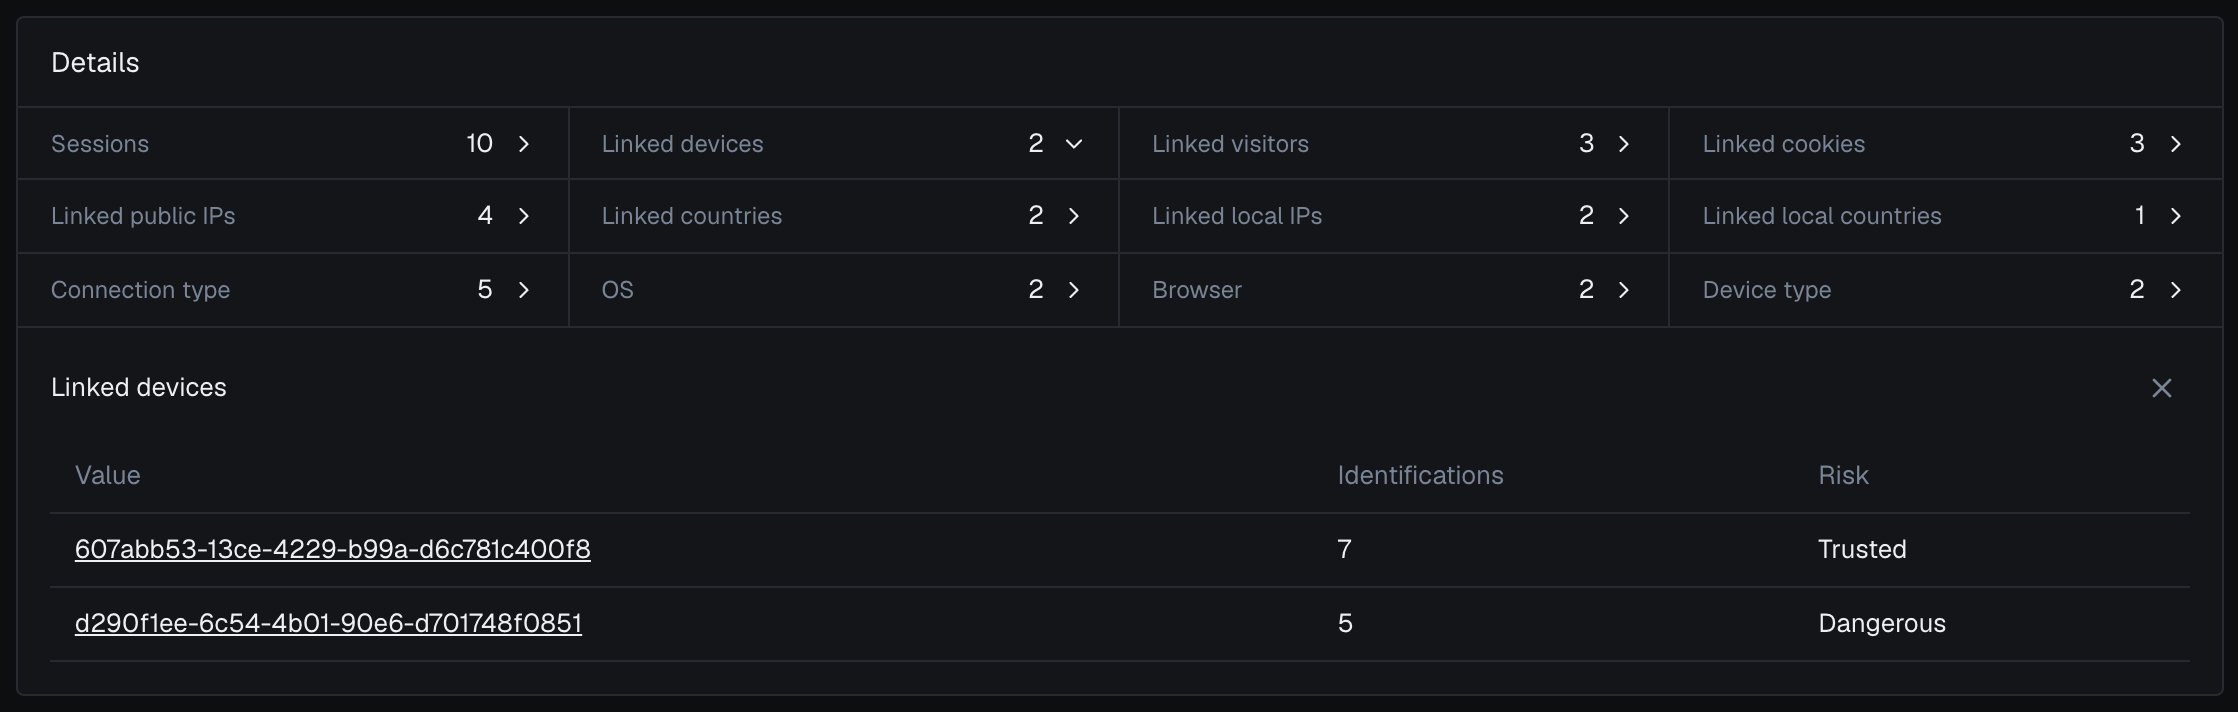
The devices linked to one user in the analytics dashboard, with the band of the identifications they share.
Driving decisions off the Risk Score band
The Risk Score is the decision input for each identification. It already encodes signal severity: a Tor exit carries a far higher weight than a lone VPN, several overlapping mismatches push an identification into the Dangerous band, and a stripped or automated client lands near the top. So a band-based action ladder, tuned per action context, captures the intent of “react harder to stronger signals” without you having to inspect each risk signal by hand. Two identifications with the same Risk Score can still differ, and the lever for that is action context plus the account and your own records, layered on top of the band:- Raise the stakes, lower the cut-point. On money movement (checkout, withdrawal) react from a Risk Score of 10 already; on a low-stakes action you can wave a Suspicious-band identification through. The per-scenario tables above set those cut-points as a recommendation.
- A high Risk Score on a sensitive step is a hard look. A Suspicious or Dangerous Risk Score at a payment, withdrawal, or password reset warrants a step-up or a hold, because the Risk Score is already telling you the identification looks masked or spoofed.
- Add the account and the device. A low Risk Score on a Device ID you have already banned, or on a device that carries accounts you have closed, is still a block. Read the device’s and the user’s earlier identifications through the History API by
device_idoruser_hid, and check them against your own records.
Use the
signals array to see which risk signals fired and the weight each added, for the decision, for logging and for later review. Branch on the signals[].name slugs or the detection_flags booleans. What each risk signal means is on Risk Signals, and the weights are on Risk Scoring.Before you tune
Three rules that keep you out of trouble:- Match the response to the band and the action context. A 30 is a Suspicious-band identification: on a low-stakes action it deserves no friction, while the same 30 at a password reset or a withdrawal is worth a challenge. Let the band plus the stakes of the action set the response, and use the
signalsto inform it and to log the reasoning. - Tune cut-points gradually, starting in log-only mode. Ship the integration first with no enforcement: record
risk_score,signalsanduser_hidfor every identification and watch how your users and traffic distribute in the analytics dashboard against your conversion and chargeback data. Only then turn on friction, starting with the highest-stakes actions, and tighten in small steps. - Match friction to stakes. It is fine to wave a Suspicious-band identification through on a low-stakes action and to challenge a Trusted-band identification with a Risk Score of 10 or more on a withdrawal. The per-scenario tables above exist precisely so the same Risk Score earns different friction.
Implementation notes: getting it right
The recommendations above only hold if your handler reads the data correctly. At-most-once webhook delivery means a naive handler can miss a result entirely, and applying the same check twice (a webhook plus a History API fallback) can double-apply effects. Wire these in from the start.Tie each decision to its own identification
At a step you decide on, such as signup, login, checkout or a withdrawal, run an identification for that step and keep its request ID. CallforceCheckAuthenticatedUser for a signed-in user, or forceCheckAnonymous before sign-in: the forceCheck* methods run an identification every time, keep the current Session ID and restart the five-minute window. Within one visit (while a page of your site stays open in the browser, across route changes in a single-page app and across open tabs), checkAnonymous and checkAuthenticatedUser run at most one identification every five minutes for the same user. A call inside that window posts nothing, counts nothing, and its onInitialized handler receives { status: "not_initialized" }. On a multi-page site, a full page load in the only open tab can start a new visit with its own identification.
Send the requestID your onInitialized handler receives to your server together with the step, and apply the decision when the webhook for that request_id arrives. The snippet reference covers all four methods.
Receive via webhook, and verify it
Your decision logic lives in the webhook handler. Verify theX-Shield-Signature header before you trust the payload, then respond 200 fast and run your decision off the request path. The signature recipe, constant-time comparison, and the full Node, Go, and Python handlers are on Webhooks: this page assumes a verified payload and focuses on what you do with it.
Verify first, then act (Node.js / Express)
Be idempotent on request_id
ShieldLabs sends one webhook per identification. When follow-up network checks run, it waits for them, at most about 10 seconds after the check, then sends the final Risk Score once. Still key your apply logic onrequest_id. For anything you cannot afford to miss you may also read the same result from the History API as a fallback, so making the write idempotent on request_id ensures the webhook and a History read for the same check converge instead of double-applying a business effect.
Idempotent apply
Fall back to the History API
Webhook delivery is at-most-once: a single attempt, no retries, with a roughly 1 second timeout. Do not assume at-least-once. For any decision you must not miss (a withdrawal, a payout, a KYC gate), read the result back from the Server API History endpoint instead of relying solely on the webhook.Read the result back by request ID
{ data, total } envelope with identifications, newest first, up to 100 per page (limit, offset). Look up any account’s recent identifications by user_hid, or any device_id, visitor_id, ip, request_id, session_id or cookie_id. History reads never count against your included identifications; they are limited to 15 requests per second per domain, so cache account reads you repeat. The Server API has the full field list and search types.
A complete decision handler
Putting the pieces together: verify, check your own records, apply the hard rules on the strongest tells, log thesignals for review, drive the decision off the per-action band ladder, read the account on sensitive steps, and stay idempotent.
Full handler sketch (Node.js)
Where to go next
Risk Scoring
How the 0 to 100 Risk Score is built, what
signals contains, and the band definitions.Risk Signals
Every risk signal you can branch on, in plain language, from masking to bots and automation.
High-Risk Events
Multi-accounting, account sharing, impossible travel and account takeover on your users, at Medium or High confidence.
Users, devices, visitors and IPs
How each identification links to a user, a device, a visitor and IP addresses, each with its own risk.
Webhooks
At-most-once delivery, the full payload, signature verification, and idempotency.
Use case tutorials
End-to-end recipes for login and 2FA, checkout, signup, affiliate fraud, and traffic quality.