

Add a domain
Add domains in the analytics dashboard under Integration > Domains. Integration describes the screen.1
Open Integration
Go to the analytics dashboard and open Integration > Domains.
2
Add the domain
Enter the hostname you want to protect, for example
myshop.com, without https:// or a path. Subdomains such as app.myshop.com are accepted by default; you can switch that off for the domain. Adding it provisions the domain’s Public Key, Private API Key and Secret Key.3
Install the snippet
Drop the snippet onto that domain with its Public Key in the URL, following Install the snippet for the full client setup. On pages where users are signed in, call
checkAuthenticatedUser with a hashed User HID instead, as Identify signed-in users shows.4
Register webhook endpoints
Add one or more webhook endpoints for the domain under Integration > Webhooks, so each identification’s Risk Score reaches your server. See Webhooks for registration, verification, and testing.
Adding a domain mints a fresh key set on the spot. Store the Secret Key and the Private API Key server-side, in environment variables or a secrets manager.
What every domain carries
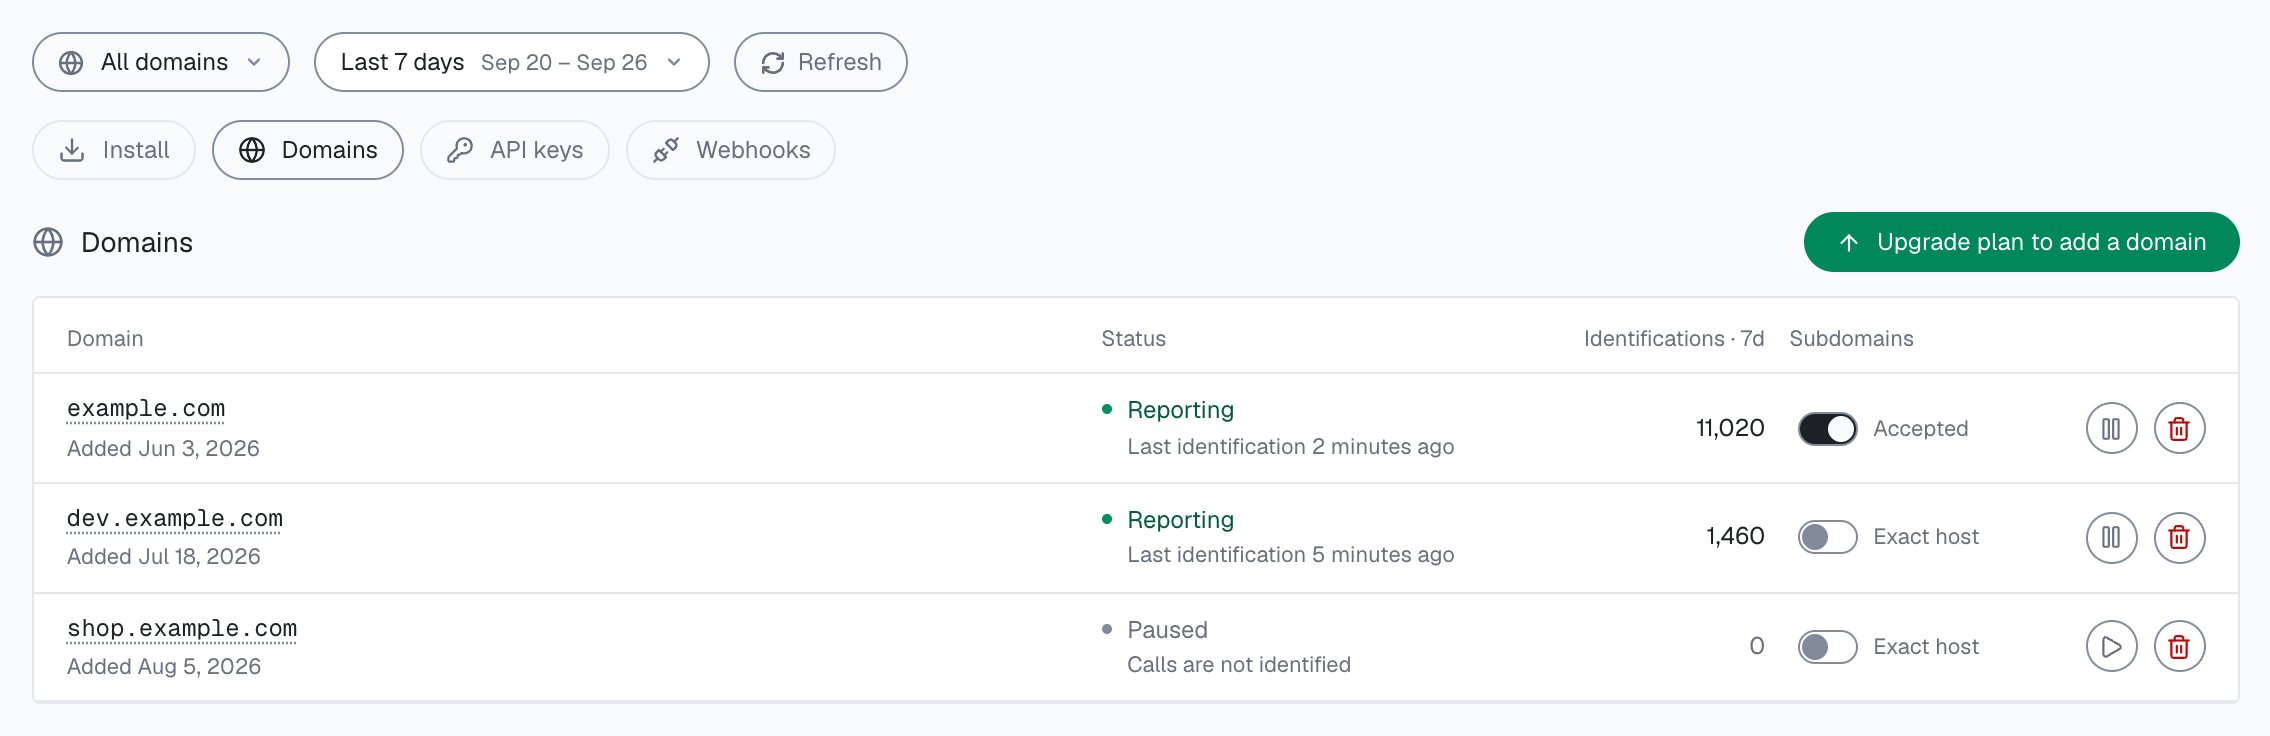
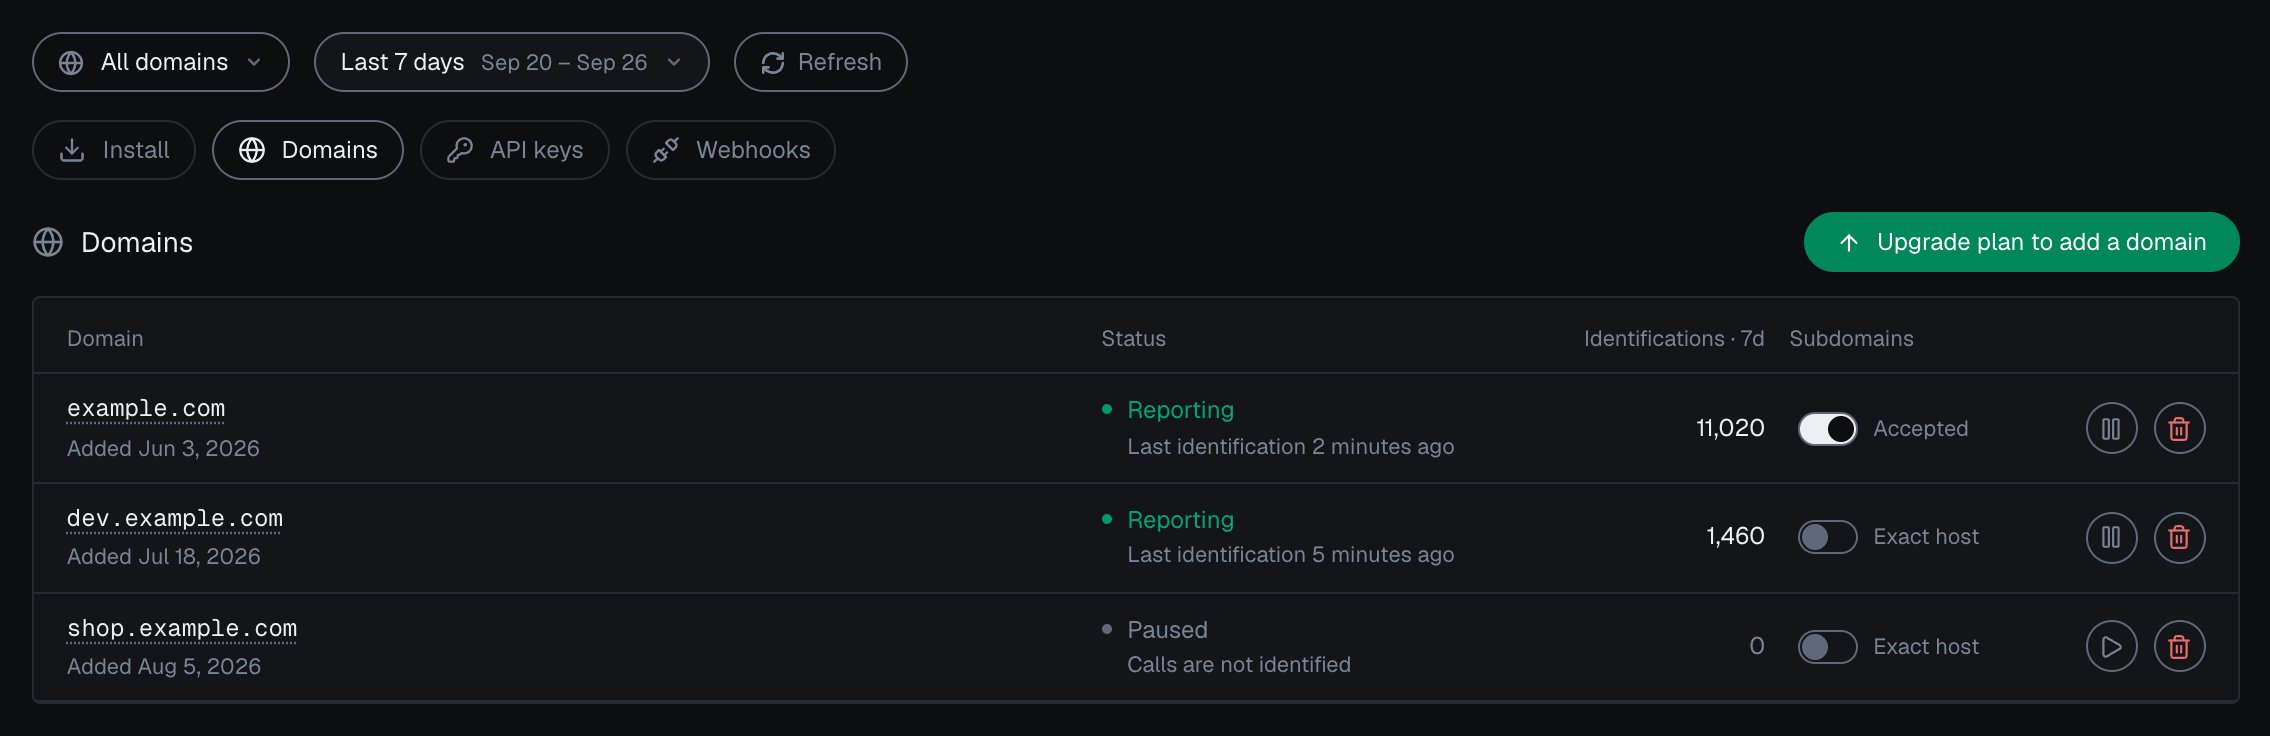
Integration > Domains in the analytics dashboard: each domain's status and subdomain setting.
Verification is automatic
You do not add a DNS record or upload a file to verify a domain. Verification happens on its own once live snippet traffic is seen.1
Install the snippet with the domain's Public Key
The Public Key works on the domain it was issued for, and on its subdomains while the domain accepts them. ShieldLabs resolves the domain from the request
Origin, then Referer, then Host, and checks it against the Public Key.2
Trigger one identification
Load a page that runs the snippet. The first identification that arrives for that domain verifies it.
3
Confirm in the analytics dashboard
Under Integration > Domains, the domain’s status changes from Pending to Reporting once that first identification is recorded.
If a Public Key is served from a host it was not issued for, the identification call is rejected with
401, and the domain stays unverified. A key lifted from your page source works only on the domain it was issued for and, while that domain accepts them, its subdomains.Subdomains and host matching
ShieldLabs resolves the host of each call from the requestOrigin, then Referer, then Host, and strips a leading www., so www.myshop.com and myshop.com are the same domain. A registered host that matches exactly always wins. Otherwise, while a domain accepts subdomains (the default for every new domain), calls from its subdomains, such as app.myshop.com or checkout.myshop.com, are accepted with that domain’s Public Key and reported under it.
How many domains you can add
Your plan sets how many active domains one account can hold.
Adding one past the cap returns an error naming the plan and its limit, for example
starter plan allows at most 1 domain. Deleting a domain frees its slot, and moving to a higher plan raises the cap right away. If you are already above the cap after a plan change, the domains you have keep running; only new ones are refused.
Each active domain also shares one ingest budget across every visitor IP on that host (Free and Starter 5 requests/second, Growth 10, Scale 15). Crossing it returns 429 without banning the domain. After ten saturated seconds in a row the domain shows as Frozen in the analytics dashboard: calls get 429, are not billed, and processing resumes on its own. The full gateway table is on Rate limits.
What is per domain and what is shared
Each domain has its own credentials, webhooks and status. Your account’s included identifications are shared by all of them.Separate credentials
Each domain has its own Public Key, Private API Key and Secret Key. A key set issued for one domain authenticates only that domain. Rotating one domain’s keys never touches another’s.
Separate webhooks
Each domain can register up to 10 webhook endpoints. Point them at the same handler or different handlers, as you prefer.
One shared quota
All domains draw on your account’s included identifications, tracked for the billing cycle on the Usage screen. Pick All domains or one domain in the analytics dashboard to see its identifications.
Independent status
Pausing one domain stops its identification calls and Server API access without affecting the others.
Next steps
With the domain added, wire its Public Key into the snippet and identify signed-in users withcheckAuthenticatedUser, keep its Secret Key and Private API Key on your server, and register webhook endpoints that verify X-Shield-Signature per the webhooks guide.